How to Create a Store With Headel (Step-by-Step Tutorial)
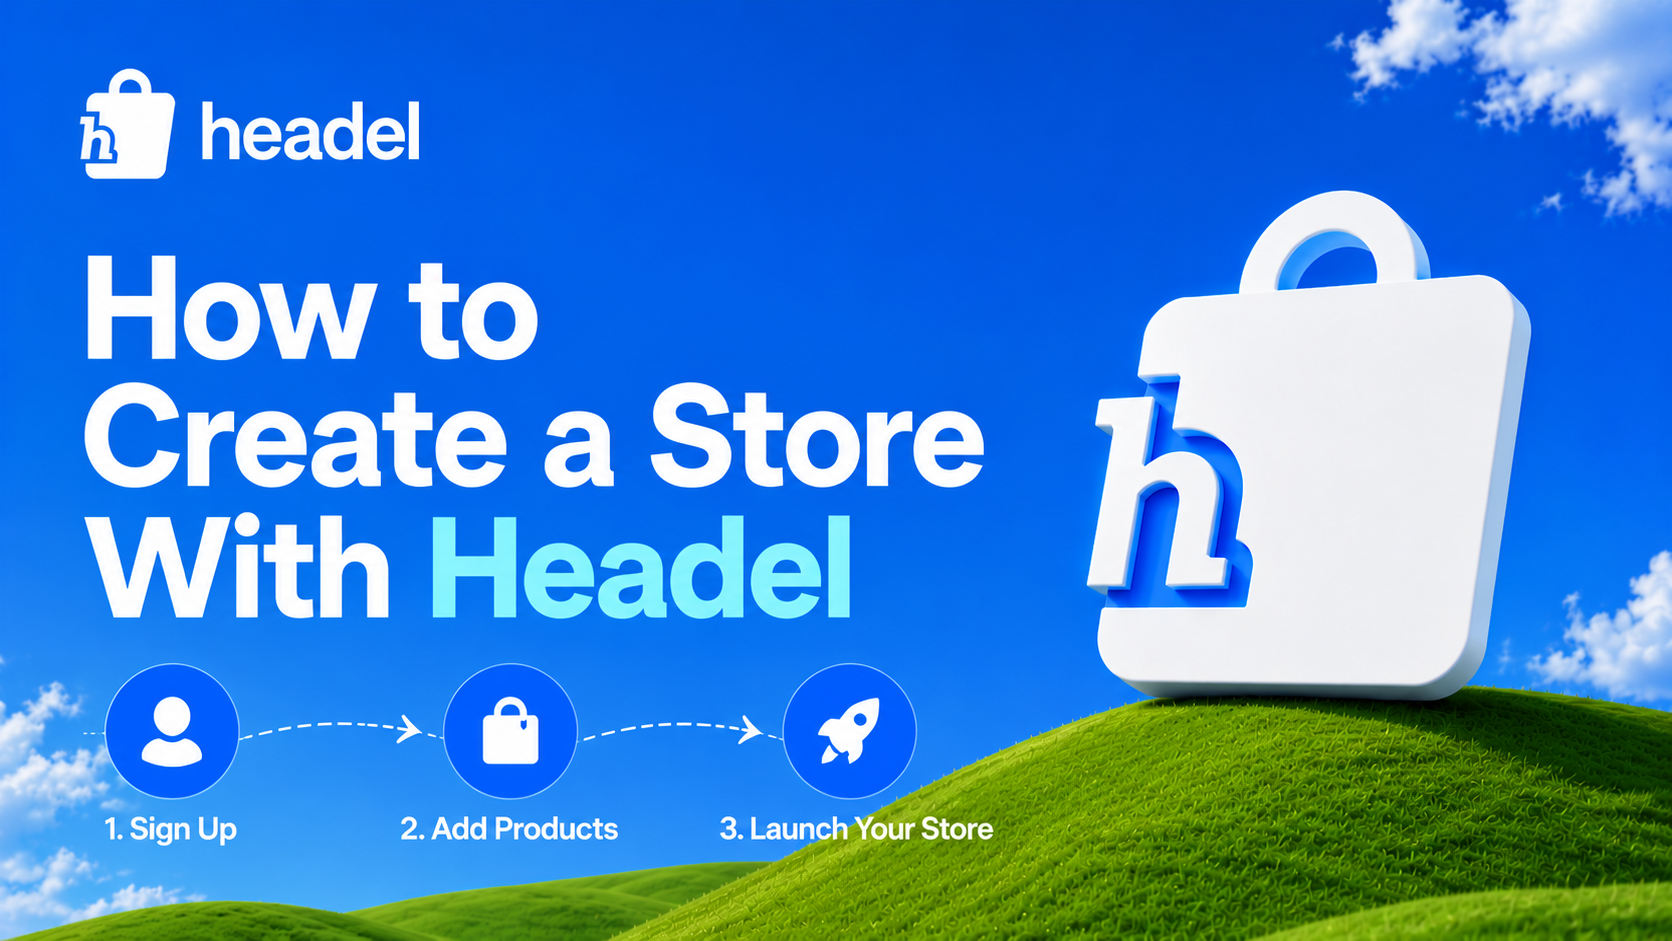
Starting an online store used to mean hiring developers, learning complicated tools, paying for themes, and spending weeks trying to launch. With Headel, you can create a fully functional ecommerce store in just a few minutes without coding, without technical skills, and without the usual setup headaches.
Whether you're selling jewelry, fashion, handmade products, art, digital products, or anything else, Headel gives you everything you need to start selling online from one dashboard.
In this complete Headel tutorial, we’ll walk through:
- Creating your account
- Setting up your store
- Uploading products
- Creating categories
- Adding discounts
- Managing orders
- Publishing and sharing your store
- Beginner tips for better sales
If you’re looking for a simple ecommerce setup guide, this article is for you.
Why Use Headel?
Headel is designed for creators, small businesses, artists, and entrepreneurs who want to launch quickly without dealing with complicated ecommerce systems.
With Headel, you can:
- Create your store in minutes
- Get your own custom store URL
- Upload unlimited products
- Add discounts and offers
- Manage orders easily
- Customize colors and branding
- Add banners and social links
- Run your store from one dashboard
You don’t need coding experience or design experience to get started.
Step 1: Head Over to Headel.com
Go to: Headel Official Website
Click the “Get Started” button on the top-right corner or the main hero section.
Step 2: Create Your Account
After clicking Get Started, you’ll be asked to enter your:
- Name
- Email address
- Password
Once you Sign Up and submit your details, Headel sends a OTP to your email for verification. This keeps your account secure while making signup extremely fast. After entering the OTP successfully, you’ll be redirected to the store creation page.
Step 3: Create Your Store
Now it’s time to customize your store identity. This section is extremely important because it controls how your store appears to customers.
Add Your Store Name
Your store name is your brand identity.
Examples:
- Jems and Jewels
- Taylor Arts
- Aura Fashion
- Moonlight Crafts
Choose something memorable and easy to type.
Choose Your Store URL
You’ll also create your custom Headel store URL.
Example:
yourstorename.headel.com
This becomes your public store link that you can share everywhere.
Try to:
- Keep it short
- Avoid special characters
- Make it easy to remember
Step 4: Upload Your Store Icon
Your store icon acts as your logo across the platform.
Recommended:
- Square image
- PNG format
- Clear branding
- Minimal design
This icon helps customers recognize your brand quickly.
You can always change it later from Store Settings.
Step 5: Write About Your Store
Now add a short description explaining what your store sells. A good description builds trust and helps visitors understand your brand instantly.
Step 6: Upload Store Banners
Banners make your store look professional and visually attractive.
You can upload:
- Promotional banners
- Brand banners
- Seasonal sale banners
- Product showcase banners
Follow the recommended image dimensions shown during upload for the best appearance.
Good banners instantly improve your conversion rates because visitors judge stores visually within seconds.
Step 7: Choose a Button Color
This helps your store feel unique and branded.
For example:
- Blue feels trustworthy
- Black feels premium
- Pink feels trendy and youthful
- Green feels organic and natural
Choose colors that match your products and brand identity.
Step 8: Add Social Media Links
You can connect your:
- Youtube
- X
These links appear in your store footer and help customers connect with your brand outside your store.
Step 9: Add Address and Contact Information
Next, fill in your:
- Address
- Phone number
Some fields are optional.
Step 10: Update Policies & Shipping Information
Headel provides default templates for:
- Terms & Conditions
- Privacy Policy
- Shipping Policies
You can keep the defaults or customize them according to your business.
Step 11: Click “Create Store”
Once everything is filled in, click:
Create Store
And that’s it.
Your online store is now live. You’ll be redirected to your Headel dashboard where you can manage everything from one place.
Full Headel Dashboard Walkthrough
The Headel dashboard is where you manage your entire business.
Inside the dashboard, you’ll find:
- Home
- Products
- Categories
- Orders
- Discounts
- Store Settings
Everything is designed to stay clean and beginner-friendly.
Dashboard Overview
The Home Dashboard gives you:
- Total sales
- Total orders
- Recent orders
- Top-selling products
This helps you monitor your business performance at a glance. As orders start coming in, you’ll see your analytics populate automatically.
Step 12: Create Product Categories
Before uploading products, it’s a good idea to organize them into categories.
Go to:
Categories → Add Category
Inside the category form, add:
- Category name
- Category slug
- Category image
- Category description
Categories make navigation easier for customers and improve the shopping experience.
Step 13: Upload Products
Now comes the exciting part: adding products.
Go to:
Products → Add Product
Here you’ll fill in:
Product Name
Use clear and descriptive titles.
Product Description
Describe:
- Materials
- Size
- Features
- Usage
- Benefits
Good descriptions help customers feel confident before purchasing.
Product Pricing
You can set:
- MRP (Original Price)
- Selling Price (Discounted Price)
This allows you to show discounts visually.
Example:
MRP: ₹1999
Selling Price: ₹1499
Customers love seeing savings.
Product Quantity
You can:
- Add stock quantity
- Leave it empty for unlimited stock
This is useful depending on whether you sell physical or made-to-order products.
Product Variants
You can add variants like:
- Sizes
- Colors
- Styles
This makes your store much more flexible.
Upload Product Images
Add multiple product images for better conversions.
Recommended:
- Clear lighting
- Multiple angles
- Lifestyle photos
- Close-up shots
Stores with high-quality product photos always perform better.
Step 14: Add Discounts & Coupons
Headel also allows you to create discount coupons.
Go to:
Discounts → Add Discount
You can:
- Create coupon codes
- Set percentage discounts
- Limit redemptions
- Track usage
Example:
WELCOME10
SUMMER20
FIRSTORDER
Discounts are great for:
- Launch offers
- Influencer campaigns
- Seasonal sales
Step 15: Monitor Orders
Once customers start placing orders, you can manage everything from:
Orders
Here you can:
- View order details
- Check payment status
- Update delivery status
- Track customer purchases
You can update statuses like:
- Pending
- Processing
- Shipped
- Delivered
This helps you stay organized as your store grows.
Step 16: Share Your Store
Now your store is ready for customers.
Share your Headel link on:
- Instagram bio
- Telegram
- YouTube descriptions
Example:
yourbrand.headel.com
The more traffic you bring in, the more chances you have to make sales.
Beginner Tips for Selling Successfully on Headel
Use High-Quality Photos
Good photos are the biggest factor in ecommerce conversions.
Natural lighting works best.
Keep Product Names Simple
Avoid complicated titles.
Customers should instantly understand what you’re selling.
Post Consistently on Social Media
Instagram and Facebook Reels, TikTok-style videos, YouTube Shorts, YouTube and Facebook Lives, and Pinterest content can drive huge traffic to your store.
Use Discounts During Launch
People are more likely to buy from new stores when there’s an introductory offer.
Keep Updating Your Store
Add:
- New banners
- New products
- New offers
- Seasonal collections
Fresh stores perform better.
Why Headel is Great for Beginners
Most ecommerce platforms overwhelm users with:
- Plugins
- Complex settings
- Technical dashboards
- Hosting problems
Headel simplifies everything.
You can literally:
- Create an account
- Upload products
- Share your link
- Start selling
All within minutes. That simplicity is what makes Headel powerful.
Final Thoughts
If you’ve been delaying starting your online business because e-commerce platforms felt too complicated, Headel removes that barrier completely.
Whether you’re an artist, a jewelry brand, a fashion creator, a student entrepreneur, or a handmade products seller. You can launch quickly and professionally using Headel.
Frequently Asked Questions:
Is Headel beginner-friendly?
Yes. Headel is designed specifically for beginners and small business owners with no coding experience.
Do I need coding knowledge to use Headel?
No. Everything is visual and beginner-friendly.
Can I change my store settings later?
Yes. You can update:
- Store name
- Branding
- Social links
- Colors
- Policies
- Products
at any time.
Can I add discounts to my store?
Yes. Headel includes built-in coupon and discount functionality.
Can I upload multiple product images?
Yes. You can upload multiple images for every product.
Can I manage orders inside Headel?
Yes. The Orders dashboard allows you to monitor and update order statuses easily.
Does Headel provide a custom store link?
Yes. Every store gets its own unique:
yourstorename.headel.com
link that you can share anywhere.
Is Headel good for small businesses?
Absolutely. Headel is ideal for:
- Artists
- Jewelry brands
- Fashion stores
- Handmade businesses
- Creators
- Small ecommerce brands
because it allows fast setup without technical complexity.